
Introduction
Have you bought security cameras for the safety of your home? With numerous different security cameras on the market, are you still troubled by the problem of not knowing how to install them? The following will introduce you to the installation methods of common models on the market.
Installation of PTZ Decoder Camera
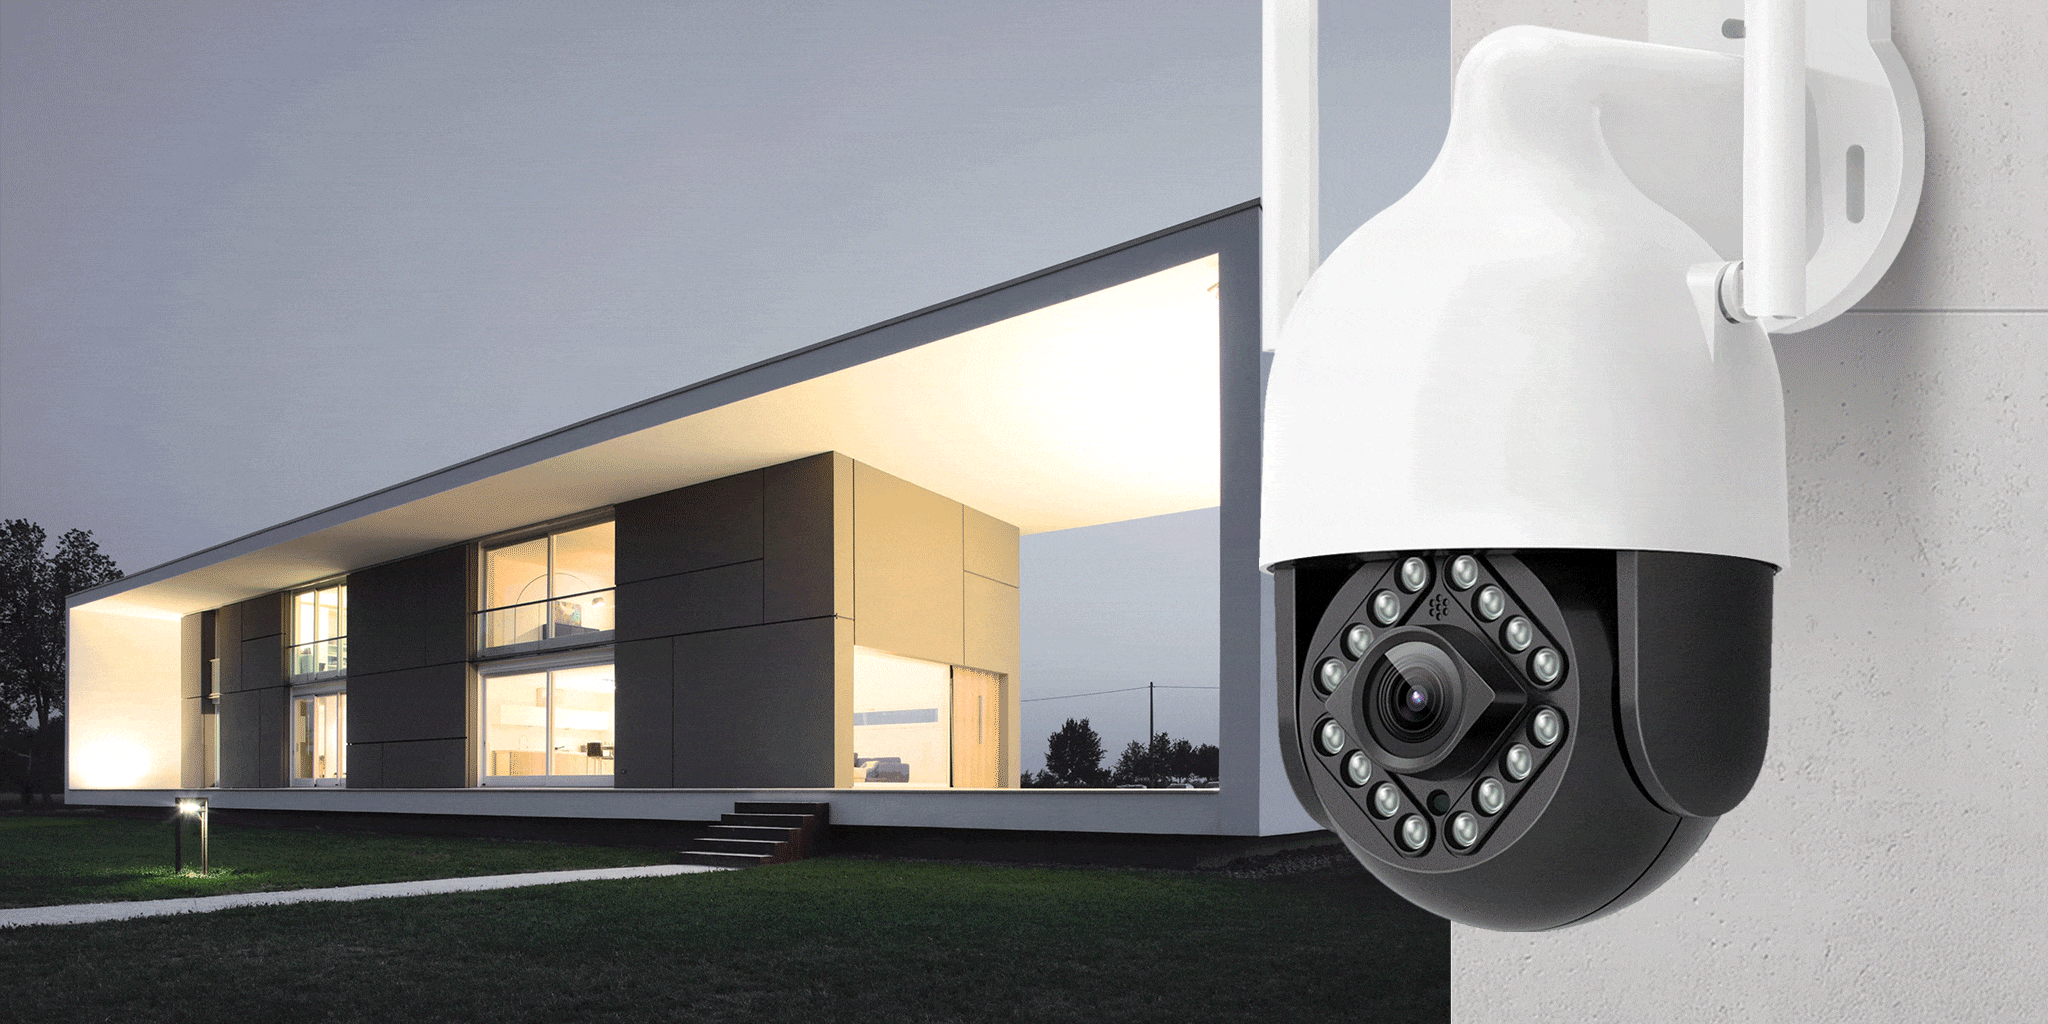
The mechanical components of this system are settled externally. Pan tilt, decoder, and camera are installed independently. This mode is also adopted with its low cost and extensive monitoring range.
Commonly, this kind of camera is sold as several components, including the Wi-Fi antenna, camera, rotating pan tilt bracket, network cable interface, and power interface.
Installation Step
The first step you need to do is to install all the parts together in a proper position. Secondly, it is needed to connect the network cable interface and the power interface to a suitable place. Please be careful not to connect the wrong interface, otherwise, the camera will not work. After checking out that the camera is operating normally, you can start to rest assured of the safety of the elderly and children in your family.
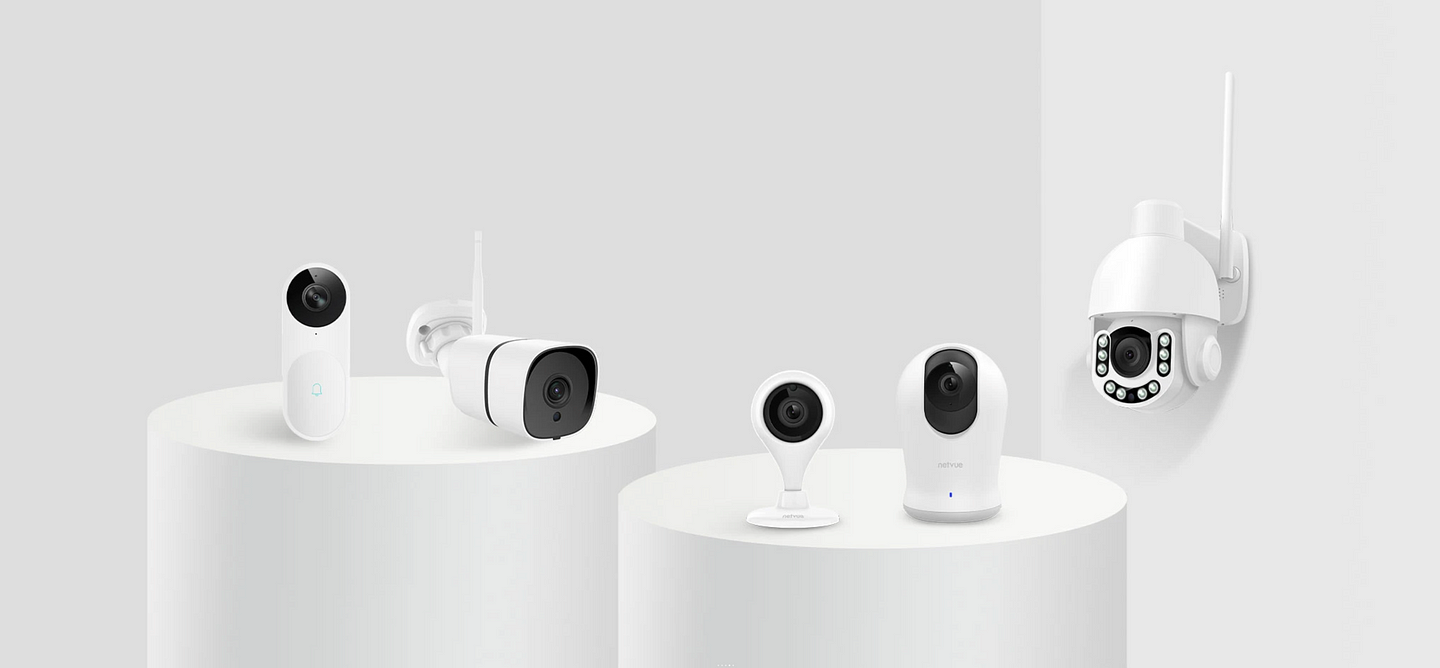
Installation of Ballhead Type Camera
A ball head type security camera components include an all-in-one camera, a high-speed stepper motor pan-tilt, an embedded solution coder board, and other electronic devices, which are all installed in a spherical protective cover. This model is adopted in a wider field with its easy installation and better appearance.
Installation Step
The installation step of Ballhead type camera could be described in two short sentences merely. First, plug in the camera. Secondly, connect the camera with Wi-Fi. The ball head camera is more welcomed by the masses since its interface is easy to find in every family without a special purchase.
Netvue Orb Pro with 360 degrees pan and 180 degrees tilt is our recommendation to you. Not only because of its convenient installation but also its well-rounded functions. It helps to detect all corners of your house. Through this device, the audio could be received and sent simultaneously without the push-to-talk button.
Netvue Camera Setup
Do you need help setting up the Netvue cam? All you need is the cam, your phone, and the wifi password.
Connect the camera to the power cord. If you have any questions and need any help, you can connect with our customer support on live chat or phone call through the Netvue app or email us at support@netvue.com.
Download the Netvue app. It’s available on the app store and Google play. Create an account to log in. Press the “+” sign to add a new device. Press the reset button which is located on the bottom of the camera. The WiFi configuration mode is activated when the status light is flashing green. Enter your wifi passcode. Please note that the camera only works with the 2.4 GHz wifi band. A QR code will the generated by the app. Place the QR code in front of the camera, and let it scan the code. Your camera will show up on the front page once you successfully added it to the app.
Features
Pan and tilt
Enter the live view and swipe the screen to move the camera lens around. The camera can pan left and right and can tilt up and down as well.
Motion Zone
You can customize the motion detection zone and let the camera focus on the area you desire. Tap the area into the blue to activate motion detection.
User Sharing
Share the camera’s access to other people without sharing your password.
SD/TF Card
The camera supports local storage with up to 128g SD/TF cards.
Cloud Service
Once you subscribe to the Netvue cloud service. You can access recorded footage on the cloud. It can store up to 7 days of footage.